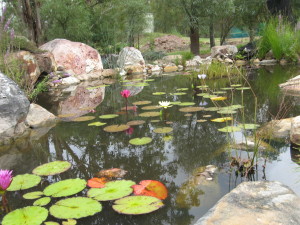
 Select a suitable site for your pond. One that gets at least four hours of direct sunshine if you intend to grow water lilies. Maximum depth should be between 300 to 500mm.
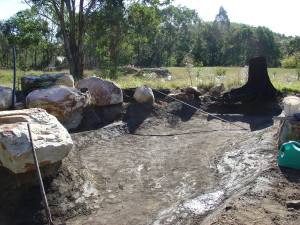
Dig your pond to the required shape and depth keeping in mind that some liners come in fixed sizes.
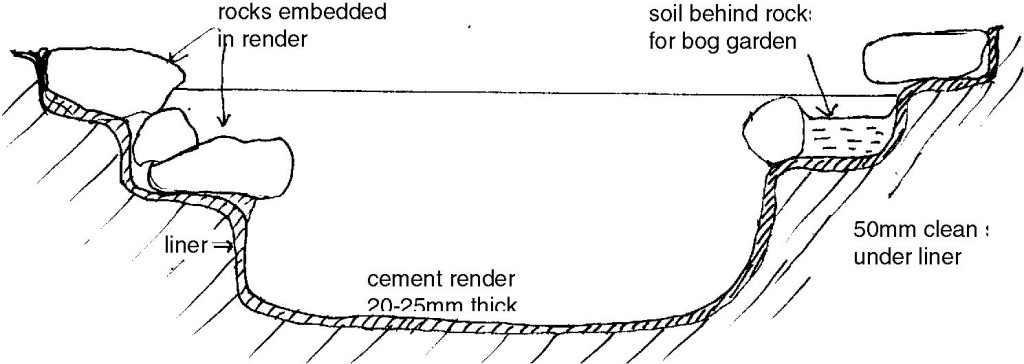
It is good to have a number of flat areas of varying depths joined by gradual sloping areas so the form you create is stable.
Care has to be taken not to damage the liner during construction.
Lay the liner in the hole over 50mm of very clean topsoil or sandy loam. This is better than sand because it holds its shape.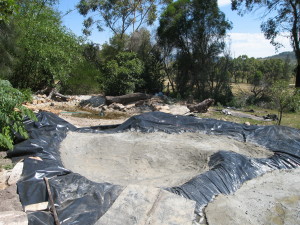
Fold the corners of the liner neatly and leave excess liner spilling over the sides approximately 100mm. Do not trim liner before pond is nearly completed and only the very top 50mm is left to finish. The liner should finish 75mm above your planned water level.
Although it is not necessary to render over a UV stabilised liner with cement there are advantages to doing so.
Render hides the shiny liner and looks more natural. It makes it safer getting in and out of the pond to do maintenance. 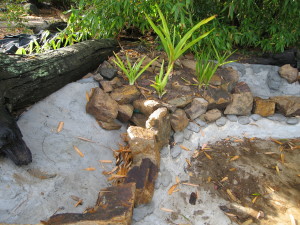 It is used to bed in and stabilise rocks around the edge making the pond much safer. Large and heavy items like boulders or logs can be set on a bed of render without danger of puncturing the liner. When you wish to clean out a pond it is easier and safer with a rendered pond.
Start rendering at the bottom with a mixture of 3 sand to 1 cement. Once you start going up the side you will have to do this in bands of about 200 mm high at a time or your render will slump and bring down a layer of liner with it. When completing each band score the top edge so it is rough and will bond with the next layer.
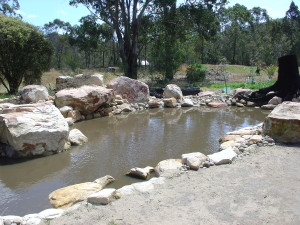 Water in rendered ponds will be very alkaline when first filled. Fill once and leave for a week then empty. Fill again and test pH each week, till it stabilises. You are then ready to plant your pond.